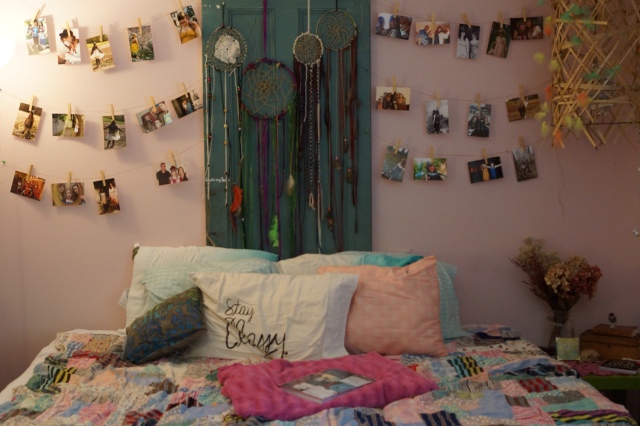
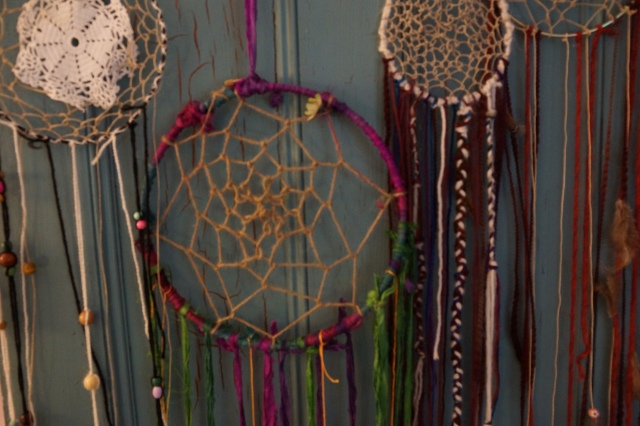
The past few months I have been on a dream catcher spree. Making them left and right simply because they’re pretty…They are all over my room as you can see:
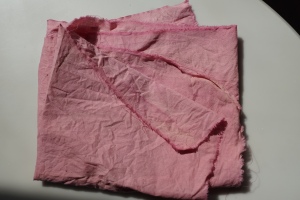
This week I decided to make yet another dream catcher, using the naturally dyed fabric I did a tutorial on a few weeks ago. The results looked like this:
So here’s how to make your own dream catcher!!!!!!
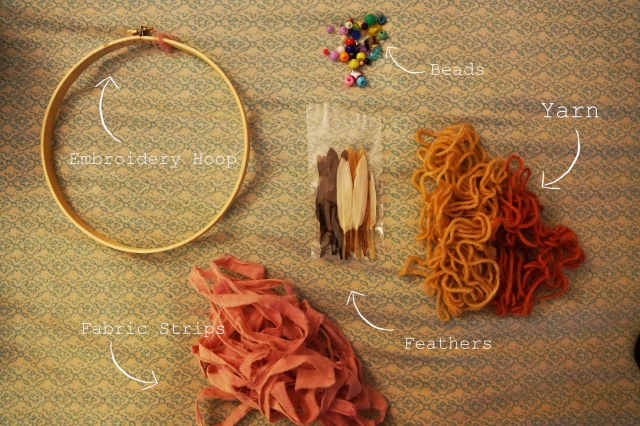
Here’s what you’ll be needing:
-1/2 of an embroidery hoop. (each hoop can make two)
-Any color Fabric strips. (In my case I used my beet dyed muslin)
-Feathers (bought or found)
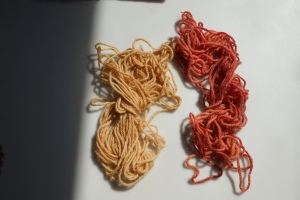
-Yarn (any color)
-An assortment of beads
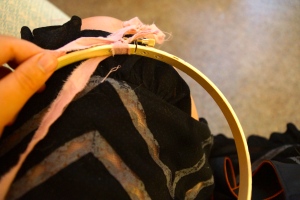
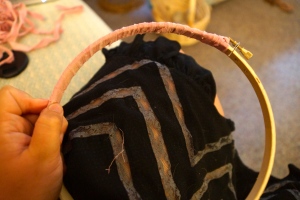
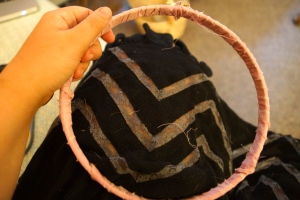
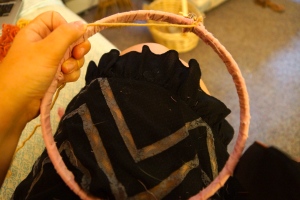
Phase one: Covering the embroidery hoop.
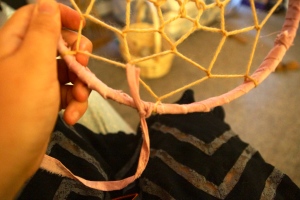
1. Take a piece of your fabric and tie it to the embroidery hoop
2. Wrap the fabric tightly around the hoop until you have cover its entirety.
3. Secure the end with a knot and tuck it under the fabric so it remains unseen
Phase two: The inside
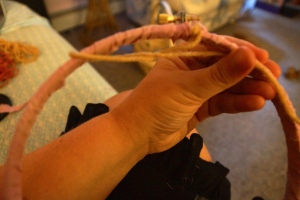
1. Take a long piece on yarn, about the length of your wingspan, and tie one end to the hoop
2. Cross the yarn to the outside edge
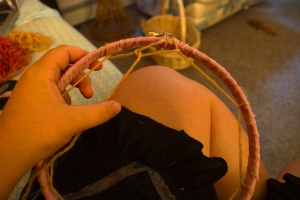
3. loop the yarn around the back of the hoop and cross in front of the yarn. This is your basic knot for each stitch
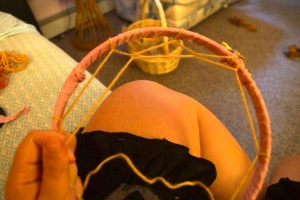
4. Continue the stitches around the remainder of the hoop. (The closer together the stitches the more elaborate the design)
4. Once you have completed the first row make a stitch onto the second row. You can do this by looping the middle of one of your first stitches. That brings the yarn inside.
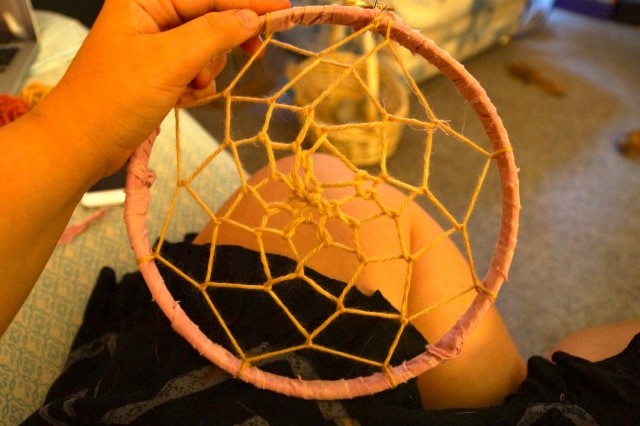
5. Continue making stitches until you have reached the center of the dream catcher. Then you will tie a regular know to secure it in place
Phase three : (And my favorite part) The Fringe
1. Take the strips of fabric and cut them into various lengths.
2. Secure them onto the bottom of the dream catcher
The amount of fringe is up to you, I say the more the merrier!
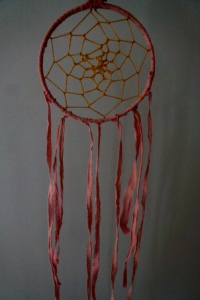
After your dream catcher should look like this:
It still looks a little empty so
3. Take the leftover yarn and cut it into various lengths.
4.Tie the feathers onto one end of the yarn
5. Add beads if you wish
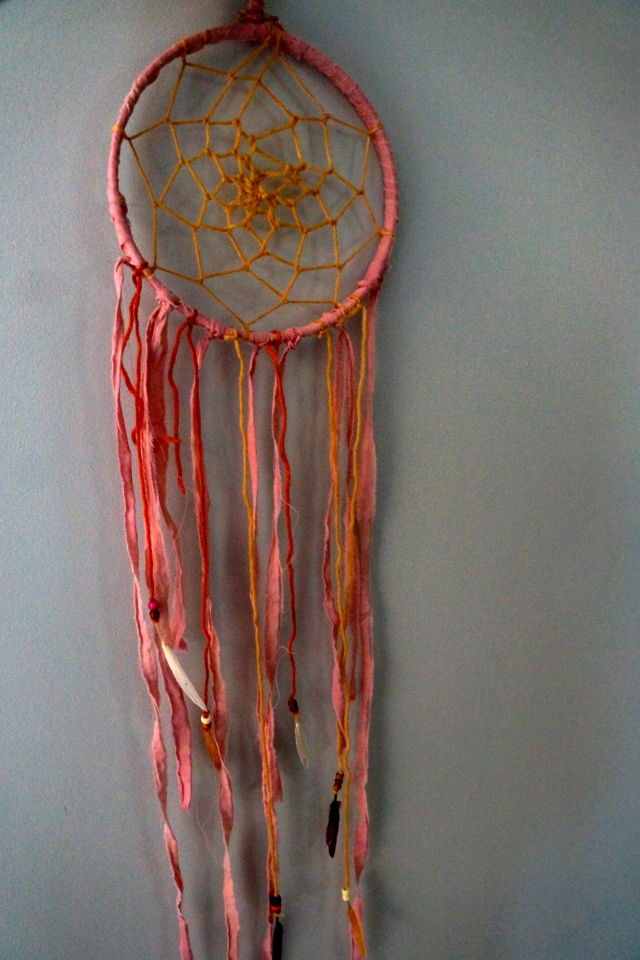
The final product can look like this!
Or one of these
All of these were done with the same tutorial. With slightly different fringe, and hoop sizes.
Let me know if this helps and post your dreamcatchers in the comments so I can see what you all are making!!!!

